

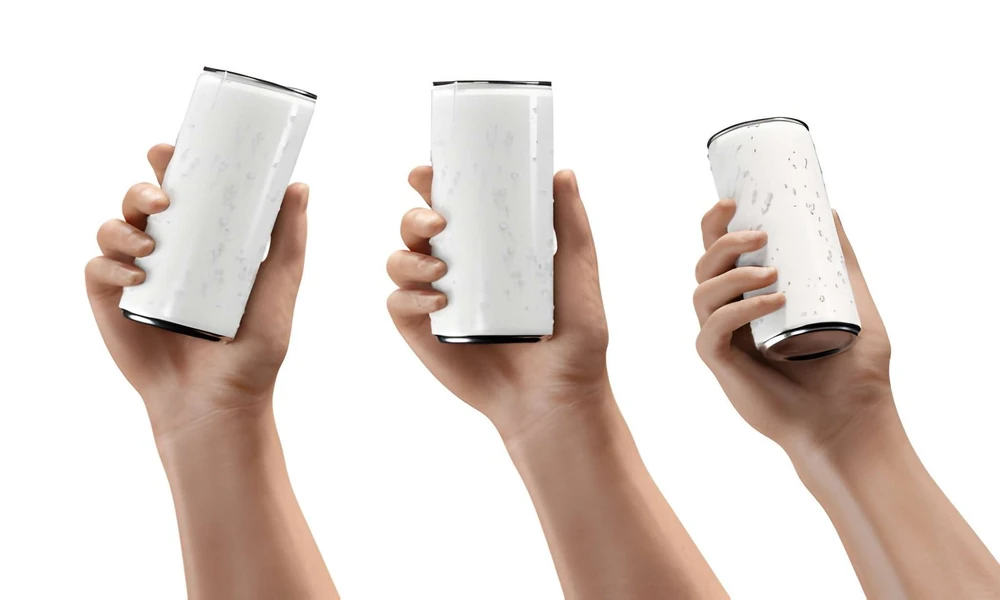
Great packaging does not happen by chance. Every successful tin box begins as an idea and evolves through careful planning, creative design, testing, and production. Custom tin packaging remains a popular choice because it combines durability, reusability, and visual appeal. Whether used for food, cosmetics, candles, gifts, or promotional items, a well-designed tin package can enhance product presentation and leave a memorable impression on customers.
The journey begins with packaging design, which involves balancing appearance, functionality, and brand identity. According to AluminumPackaging.com Blog, successful packaging should not only protect the product but also communicate a brand’s values and attract customer attention. A well-designed tin package becomes part of the overall product experience rather than simply acting as a container.
Step 1: Define the Packaging Concept
Every project starts with a clear goal.
Before selecting materials or artwork, businesses should consider:
- The type of product being packaged
- Target customer demographics
- Brand personality
- Packaging budget
- Distribution and storage requirements
At this stage, brainstorming is encouraged. Sometimes the simplest idea turns out to be the strongest one.
Step 2: Choose the Right Tin Box Style
Tin packaging comes in many shapes and formats. Selecting the right structure is an important step in the process.
Popular options include:
- Round tins
- Square tins
- Rectangular tins
- Hinged-lid boxes
- Window tins
- Specialty custom-shaped tins
Each style creates a different customer experience. A luxury cosmetic product may benefit from a sleek metal tin, while a gift product might need a decorative design that feels more premium.
Step 3: Create the Visual Design
This is often the most exciting part.
Designers typically focus on:
- Brand colours
- Logo placement
- Typography
- Product information
- Decorative patterns
- Surface finishes
Good design attracts attention without overwhelming the customer. In some cases, less really is more. A clean, uncluttered design can appear far more sophisticated than a package crowded with graphics.
Step 4: Add Premium Custom Features
Custom tin packaging offers many opportunities for enhancement.
Some popular options include:
- Embossing or debossing
- Matte finishes
- Gloss coatings
- Metallic effects
- Spot UV printing
- Custom closures
These details may seem small, but they often contribute significantly to perceived value. Customers always look for quality, even without explaining the reason.
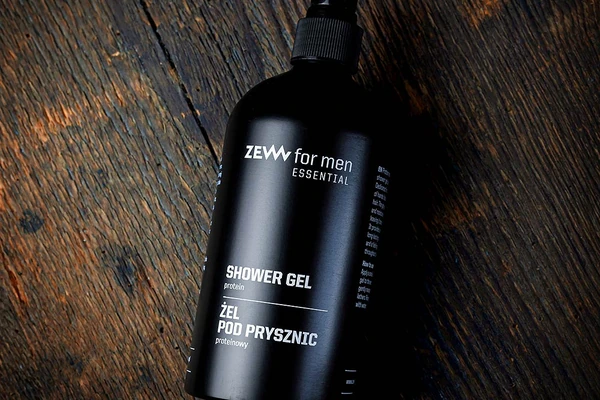
Step 5: Prototype and Test
Before large-scale production begins, creating a sample is usually a smart move.
Testing helps verify:
Finding a small issue during sampling is much better than discovering it after thousands of units have already been produced. Trust me, that can be an expensive lesson.
Step 6: Move to Production
Once the design is approved, manufacturing can begin. The final tin boxes are printed, assembled, inspected, and prepared for shipment. Quality control remains important throughout this stage to ensure consistent results.
Final Thoughts
Creating custom tin packaging involves turning a simple idea into a finished product that customers recognize and remember. By choosing the right tin style, refining the design, incorporating strong branding, and testing prototypes before production, businesses can develop packaging that protects products, enhances brand identity, and creates a lasting impression long after purchase.
